Introduction
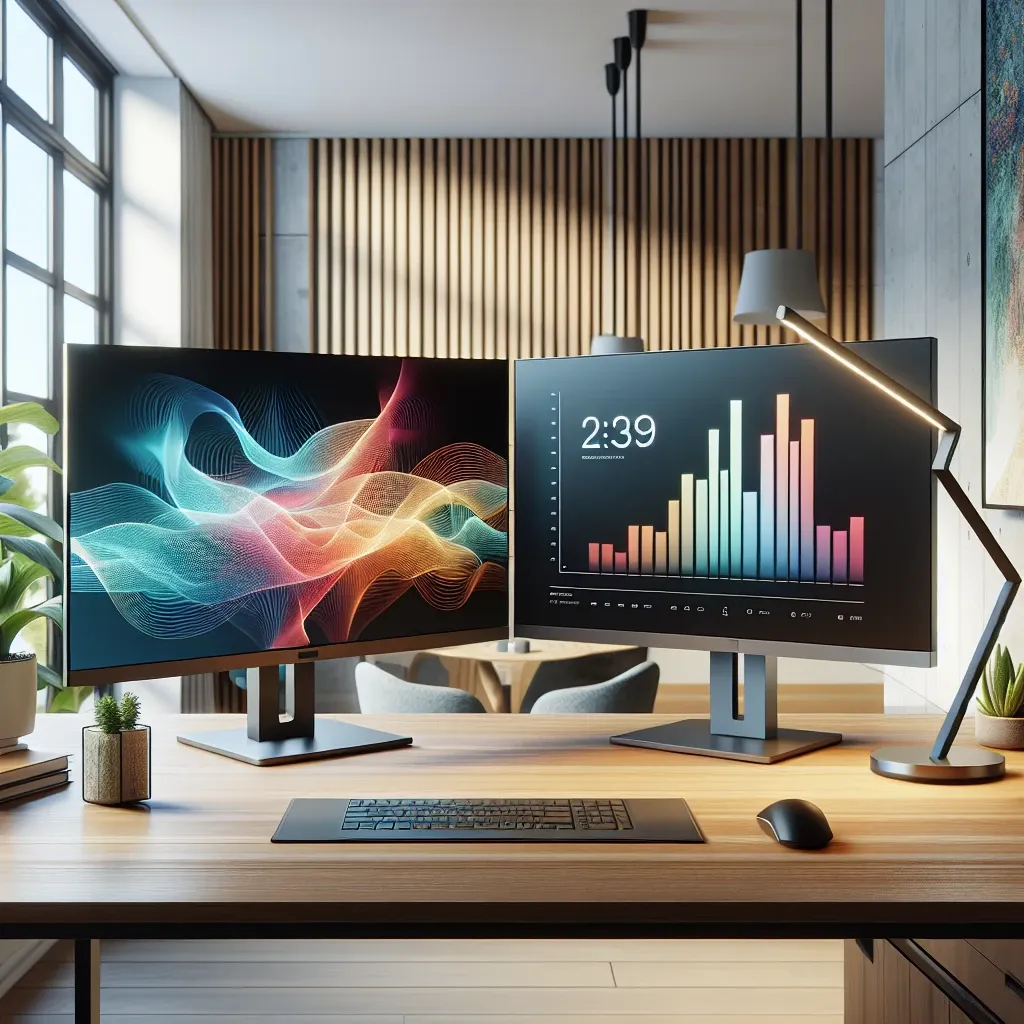
Setting up dual OLED monitors can significantly enhance your workspace, whether you are a gamer, a content creator, or a professional seeking increased productivity. OLED monitors offer superior contrast, vibrant colors, and fast response times, making them an excellent choice for any dual-monitor setup.
Requirements for Setting up Dual OLED Monitors
Before diving into the setup process, ensure you have all the necessary components:
- Two OLED Monitors: Ensure both monitors are compatible with your computer’s operating system and have the necessary ports.
- Graphics Card: A powerful graphics card with multiple output ports (HDMI, DisplayPort, etc.).
- Cables: Appropriate cables (HDMI, DisplayPort, etc.) to connect the monitors to the computer.
- Monitor Stand: A dual-monitor stand or mounts to position your monitors comfortably.
- Operating System: A compatible operating system that supports multi-monitor setups (e.g., Windows 10, macOS).
| Component | Description |
|---|---|
| Two OLED Monitors | Ensure they are compatible with the OS and have necessary ports. |
| Graphics Card | Must have multiple output ports. |
| Cables | HDMI, DisplayPort, etc. |
| Monitor Stand | For comfortable positioning. |
| Operating System | Support for multi-monitor setups. |
Step-by-Step Guide to Setting Up Dual OLED Monitors
Step 1: Connect the Monitors to the Computer
- Turn Off Your Computer: Before making any connections, ensure your computer is turned off.
- Connect the Cables: Use the appropriate cables to connect each monitor to your graphics card’s output ports.
- Secure the Connections: Make sure the cables are securely connected.
- Power On the Monitors: Turn on your OLED monitors and ensure they are powered up.
- Turn On Your Computer: Power on your computer to start the configuration process.
Step 2: Configure Display Settings (Windows 10)
Once the monitors are connected, you need to configure the display settings on your computer.
- Right-Click on Desktop: Right-click on an empty area of your desktop and select Display settings from the context menu.
- Identify Monitors: Click on the Identify button to identify which monitor is 1 and which is 2.
- Arrange Monitors: Drag and drop the monitors to align them according to your physical setup.
- Set Primary Monitor: Select the monitor you want as your primary display by checking the Make this my main display option.
- Adjust Resolution and Scale: Ensure both monitors are set to their recommended resolutions and scaling settings.
- Apply Changes: Click on Apply to save your changes.
Step 3: Configure Display Settings (macOS)
For macOS users, follow these steps to configure your dual-monitor setup:
- Open System Preferences: Click on the Apple menu and select System Preferences.
- Click on Displays: In System Preferences, click on Displays.
- Arrangement Tab: Go to the Arrangement tab to arrange your monitors.
- Drag Monitors: Drag the monitors to align them according to your physical setup.
- Set Primary Display: Drag the white menu bar to the monitor you want as your primary display.
- Adjust Resolution: Ensure both monitors are set to their optimal resolutions.
- Close System Preferences: Close the window to save your settings.
Troubleshooting Common Issues
Monitor Not Detected
- Check Connections: Ensure all cables are securely connected.
- Update Drivers: Check for updates to your graphics card drivers.
- Reboot Computer: Restart your computer to refresh connections.
Resolution Issues
- Correct Resolution: Ensure each monitor is set to its native resolution in display settings.
- Update Graphics Drivers: Ensure your graphics drivers are up to date.
- Check Cables: Use high-quality cables that support high resolutions.
Alignment Issues
- Arrange in Settings: Ensure monitors are correctly arranged in the display settings window.
- Monitor Stands: Use adjustable monitor stands to align monitors physically.
Conclusion
Setting up dual OLED monitors can elevate your computing experience, providing more screen real estate and enhancing productivity. By following this step-by-step guide, you can ensure a smooth and efficient setup process. Remember to troubleshoot any issues that may arise and enjoy the benefits of a dual-monitor workspace.